 |
| No, the weight is not a typo! |

Showing posts with label Vinyl. Show all posts
Showing posts with label Vinyl. Show all posts
Thursday, July 31, 2014
Subway Art Plaque 2
A friend just had her second baby boy. I had made a similar plaque a couple of years ago for her first son and she requested a matching one for baby Cru. I bought the frames to paint a few years ago and am out of them....hopefully baby three is a girl so we can work with something different :)


Friday, July 25, 2014
The Elephant in the Room
I just love it when I can coordinate with a nursery theme or bedding. Here's a plaque I did for a friend I've known since forever. I will send her the actual name, once mom and dad decide what it is.

 |
| Here's comparing the plaque with the bedding set. |
Saturday, March 16, 2013
Nursery Renovation
Our family took on a major nursery renovation at church recently. I actually finished the last touch up of paint this morning. I had a blast seeing the vision become reality.
My daughter and I were sitting in the nursery one Sunday morning, playing with the babies discussing what we would do to update the room. It had an awesome Noah's Ark mural theme, that had been painted about 9 years ago. It was getting pretty beat up and change sounded fun. We started taking notes...
A couple of weeks later, the children's ministry director mentioned to us that she was thinking of updating the nursery and wondered if we could come up with some ideas. I handed her the list. :)
After the week long project turning into three...here are the results. I think my favorite change is the odd little room as it became a cottage, especially the window box!
Before and after pictures at the end of the post.
My daughter and I were sitting in the nursery one Sunday morning, playing with the babies discussing what we would do to update the room. It had an awesome Noah's Ark mural theme, that had been painted about 9 years ago. It was getting pretty beat up and change sounded fun. We started taking notes...
A couple of weeks later, the children's ministry director mentioned to us that she was thinking of updating the nursery and wondered if we could come up with some ideas. I handed her the list. :)
After the week long project turning into three...here are the results. I think my favorite change is the odd little room as it became a cottage, especially the window box!
Before and after pictures at the end of the post.
 |
| Sunday School Song Theme |
 |
| Chain on vinyl chandelier says "This little light of mine, I'm gonna let it shine." |
 |
| New sink, counter and faucet with painted cabinets. |
 |
| Buffalo check valance and acrylic mirror. |
 |
| Painted the shelf and added French memo board. |
 | |
 |
| We changed the fluorescent lights out for can lights. Added one on a dimmer in the cottage. |
 |
| So fresh and clean looking! |
 |
| New toy storage..."Tubtrugs" |
 |
 |
| Jesus loves the little children, All the children of the world. |
 |
| Paper Dolls from My Scrap Chick |
 |
| This is a project inspired by House of Hepworth's sign. |
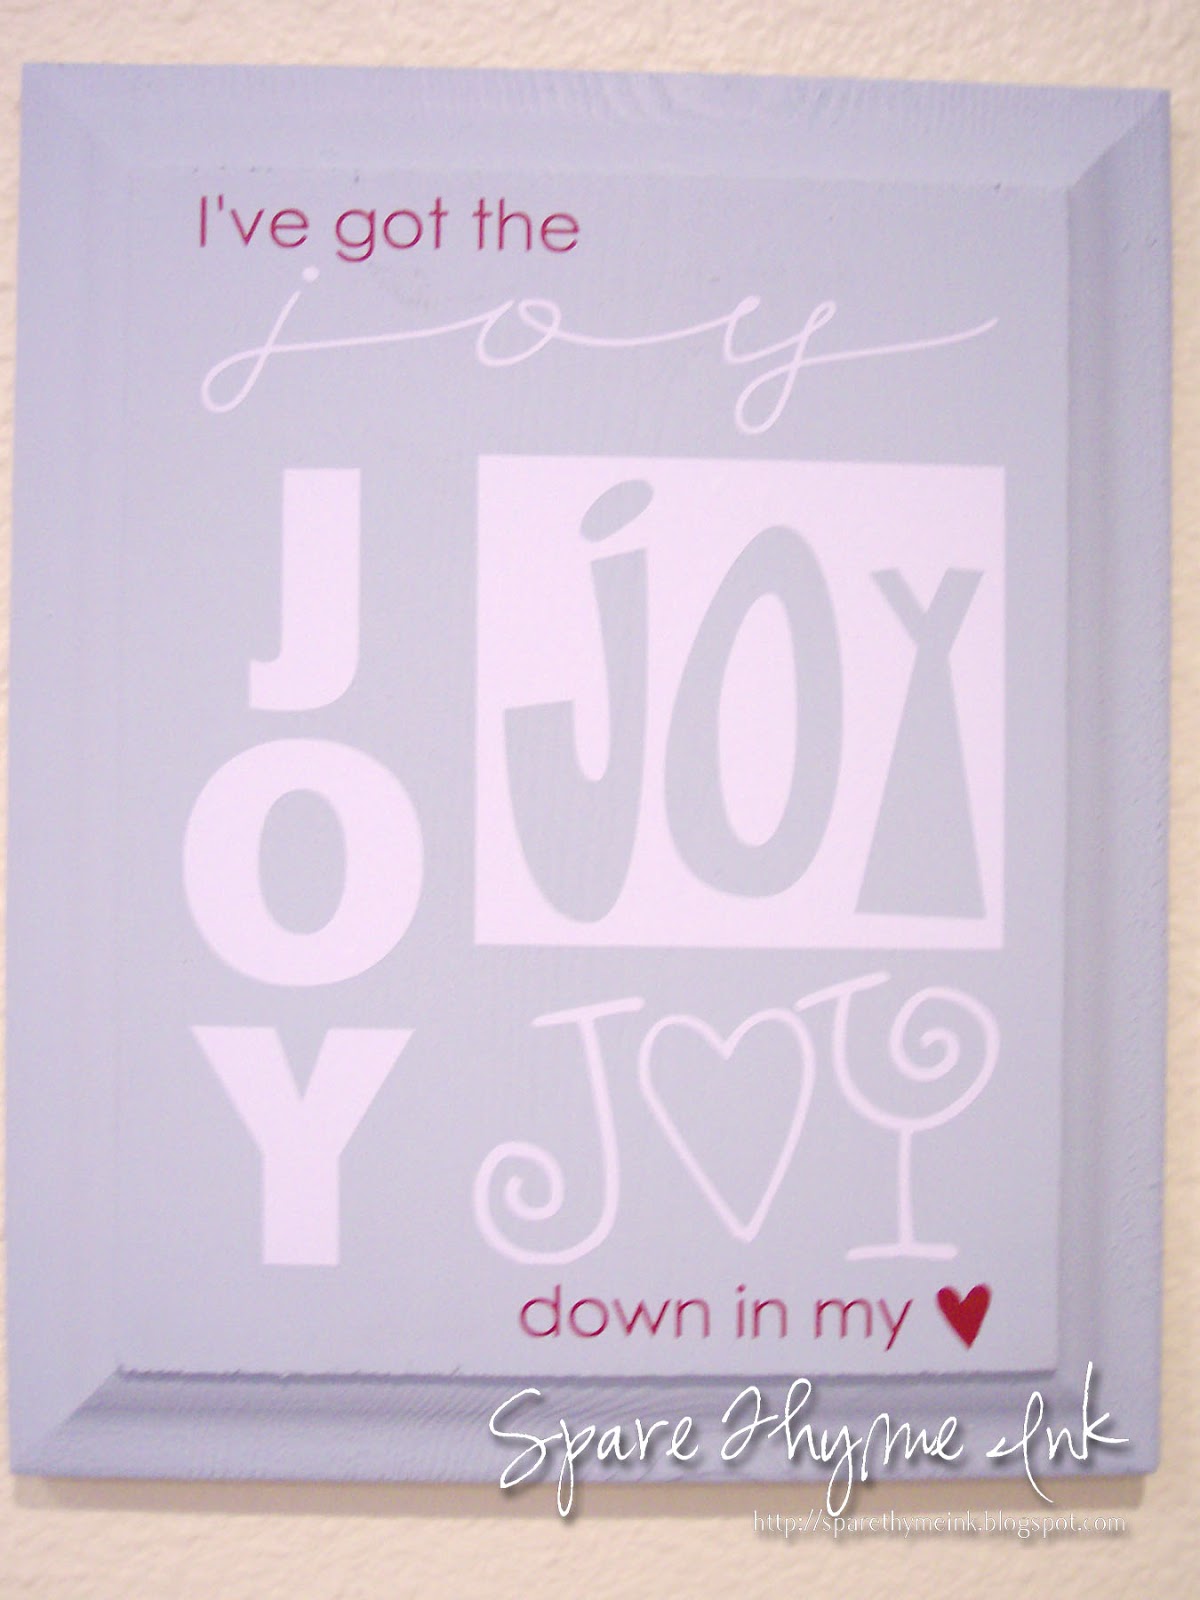 |
| I've got the Joy, Joy, Joy, Joy down in my heart! |
 |
| Acrylic mirror from home depot, framed and topped with "My God is so BIG, so STRONG and so MIGHTY, There's NOTHING my God can not do! |
 |
| All things bright and beautiful, the Lord God made them all. |
 |
| Found this frame 17 years ago and finally found a project for it. |
 |
| Before and After |
 |
| Before and After (before the mirror) |
 |
| Before and After |
 |
| Before and After |
 |
| Before and After |
Tuesday, December 18, 2012
Bubble Gum Pink
 |
| Bubblegum Machine Make Over |
 |
| Bubble Gum Machine Before |
 |
| Tearing it all apart. |
While waiting for the paint to dry, I worked...and worked...and worked on getting the Jelly Belly logo off the glass. THAT did NOT go well! I tried acetone, steel wool, turpentine, soaking it, scrubbing it, sanding it. I finally got most of the evidence off that the logo was ever there, but it left the glass scratched and foggy.
 |
| Final project. |
I cut some coordinating vinyl to cover the scratched parts and labeled it treats. Had to take a couple of darts in the oval to get it to lay somewhat flat.
 |
| My sad attempt at the label. |
 |
| Before and After |
Monday, November 19, 2012
Saints
My brother and his wife just adopted a new baby boy...

Some friends threw a "Puppy Shower" for them. Because I make a baby plaque for each shower I go to, this was no exception.
I also went and found the biggest dog dish I could and decorated it with vinyl. It wasn't a shower gift...actually it was a birthday present for my bro, but thought I could share it here.


Some friends threw a "Puppy Shower" for them. Because I make a baby plaque for each shower I go to, this was no exception.
 |
| I chalked the spots and then used flocking on top of that for the texture. |
 |
| I even found a Bible verse for a Saint Bernard :) |

Tuesday, October 2, 2012

Monday, July 30, 2012
This Little Piggy
...went to the bank.
Haven't made too many baby plaques lately. There's been a lull in "babies" lately. Instead...all of last year's arrivals are turning one. It's hard to believe! For one of the parties, instead of gifts, they asked for donations to World Vision to buy a goat for a family. Well...giving just plain money isn't very fun for me...so I try to think of creative ways to do it.
For Addison's birthday, I found this cute little piggy bank in the Target Dollar Section. I added her name in vinyl and filled it with some pennies.
Happy Birthday, Little Addie!
Haven't made too many baby plaques lately. There's been a lull in "babies" lately. Instead...all of last year's arrivals are turning one. It's hard to believe! For one of the parties, instead of gifts, they asked for donations to World Vision to buy a goat for a family. Well...giving just plain money isn't very fun for me...so I try to think of creative ways to do it.
For Addison's birthday, I found this cute little piggy bank in the Target Dollar Section. I added her name in vinyl and filled it with some pennies.
 |
| Target dollar bin piggy bank. |
 |
| Addie cut from vinyl, using PeggyFont in Make the Cut with my Silhouette Cameo. |
Wednesday, May 23, 2012
Upgraded Coffee Thermos
Last weekend was the neighborhood garage sale I look forward to every year. It usually has a pretty good participation of sellers and plenty of shoppers. A friend (who's expecting her first baby) went with me (as well as my four kiddos and an extra one to boot.) I really had to have some self restraint as I would see something and say, "Ooooh, I saw 'fill in the blank' on Pinterest, we could add some burlap, lace and a mason jar, a little spray paint and it would look so cool!" But alas, I resisted the chandelier, extra frames, interesting wood tables, etc.
But something I was looking for, was a 12 cup thermos, for entertaining. I stumbled across three at one garage sale. Again, I exercised a bit of self control and only bought one. My first thought was to peal the "skin" from it and vinyl it up. But I could tell the more I looked at it, that underneath the wrapper there were some dents. So I decided to work with what was there and make it mine. I am not a coffee snob...I don't mind generic brands, won't pay the outrageous prices of the coffee shops that are all over the region, couldn't tell you the best coffee in town...and really only pay attention to the cream and sugar. So "Seattle's Best Coffee" would be a serious case of false advertising if I left it like that. My coffee isn't the best in any town :)
Using Make-the-Cut, vinyl and a free dingbat font from Clever Someday, I came up with this:
 I'm just so tickled with how it came out!
But something I was looking for, was a 12 cup thermos, for entertaining. I stumbled across three at one garage sale. Again, I exercised a bit of self control and only bought one. My first thought was to peal the "skin" from it and vinyl it up. But I could tell the more I looked at it, that underneath the wrapper there were some dents. So I decided to work with what was there and make it mine. I am not a coffee snob...I don't mind generic brands, won't pay the outrageous prices of the coffee shops that are all over the region, couldn't tell you the best coffee in town...and really only pay attention to the cream and sugar. So "Seattle's Best Coffee" would be a serious case of false advertising if I left it like that. My coffee isn't the best in any town :)
Using Make-the-Cut, vinyl and a free dingbat font from Clever Someday, I came up with this:

Saturday, May 5, 2012
Personalizing Hard Hats
Had fun tonight making a personalized hard hat for my hubby. He's just started an engineering company and I thought the hat was a blank canvas just waiting for some vinyl. The logo was designed in Photoshop Elements and then brought into Make-the-Cut as a jpg.


Thursday, March 15, 2012
Subway Art Baby Plaque
I love doing baby plaques, but they're really hard to personalize if I don't know Jr's name. This was the case for a new baby that was arriving in early March. The parents were very tight lipped when it came to sharing the baby's name. I did know that it was a boy and the nursery was black and white...and football. I decided to wait to make the gift after I had the "details." I set up the type and verse and mock weight etc. in Make the Cut and then changed it once I knew. (I did guess the length...woo hoo!)

This is a definite change for the usual style I've done...but it was fun. I still have lots to learn on designing good Subway Art. But babies keep coming, so I'll have lots of practice. :)
I found the frame at Michael's, painted it black and used white Orcal vinyl for the lettering.

This is a definite change for the usual style I've done...but it was fun. I still have lots to learn on designing good Subway Art. But babies keep coming, so I'll have lots of practice. :)
I found the frame at Michael's, painted it black and used white Orcal vinyl for the lettering.
Friday, March 9, 2012
It is Well
Here is another Pinterest inspired project. I repinned this collage. Unfortunately, whoever originally pinned it, didn't pin it from the original source. It may have been user uploaded, but whatever the case, I have no idea who to give credit to. Please message me if you know the original link or source!
**Here is the link to this at Etsy.
 All that to say...I thought it was a great idea and loved the composition. I'm still pretty green on the whole painting thing, but here is my take on it. (I made it for a gift for my father-in-law.)

Here's what I did to make mine...
**Here is the link to this at Etsy.


Here's what I did to make mine...
- Find sheet music for It is Well with My Soul, size it to fit in frame (8x10), and print off on parchment looking paper.
- Seal that with Modge Podge. (I did this so that my letters wouldn't stick and rip the paper.)
- Cut out "It is Well with My Soul." I used Make the Cut and my Silhouette to cut out contact paper.
- Adhere words to sheet music to use as a mask.
- Paint two coats of very light color all over. Let dry.
- Mix a medium color with some glaze medium, then brush it on working in small sections, wiping it off in circular motions with crumpled cheese cloth. Let dry.
- Repeat with a very dark color/glaze mix. Let dry.
- Carefully remove the contact paper letters.
- Mount the mat. (I used clear packing tape on the back.)
- Cut the bird image out of contact paper, removing the inside part, to make a stencil. (I found my bird on Silhouette's website here. I did tweak it a bit to make the branch a bit longer.)
- Position stencil over mat and sheet music and adhere.
- Paint inside the stencil with a light brown.
- Mix dark brown with glaze and paint and wipe with cheese cloth like above.
- Remove stencil. Let dry.
- Frame it :)
Sunday, February 12, 2012
My First Attempt with Iron on Vinyl
Here is my first try using iron on vinyl. Let me just say, the Silhouette Cameo did an amazing job at cutting the detailed letters! Weeding the image wasn't as easy as regular vinyl, but not horrible. The difference was the backing was the sticky part instead of the vinyl. It is important to remember to mirror the image BEFORE cutting it out. (I remembered...this time!)

The vinyl was a Christmas gift from my daughter. I had mentioned that Pick Your Plum (a daily deal site) was selling it, in passing and she picked up on that and took the initiative to purchase it. I was very surprised!...and pleased! I pre-washed the shirt and I've run it through the laundry once since and it seems to be holding up fine so far.

The vinyl was a Christmas gift from my daughter. I had mentioned that Pick Your Plum (a daily deal site) was selling it, in passing and she picked up on that and took the initiative to purchase it. I was very surprised!...and pleased! I pre-washed the shirt and I've run it through the laundry once since and it seems to be holding up fine so far.
Friday, January 6, 2012
Bling-y Thanks
Here's my second project using the new Silhouette. I designed it in the Silhouette Studio, which I am still figuring out.
 The holly is from their website, but the Thanks is using one of my fonts. I decided to use vinyl on this to test detail cutting, and I figured it would be easier to stick down. I think it does a pretty nice job! I used glossy card stock and 3 stick on rhinestones from Michael's

Wednesday, January 4, 2012
The Latest Addition
I got a new addition for my craft room.
 "Her" name is Cami and I'm looking forward to lots of crafting with her. See how she shines! Oh wait, that's the glare from my light...crumb. I had already planned to add some personal touches to her with vinyl, I just hadn't decided what yet. I've enjoyed searching for just the right design on the Silhouette America website using my $10 gift card that came with the machine.
 And then I found something I hadn't realized was included...a .studio file for the control pad. How cute and fun is this?
 I love personalization...and when I can easily change it, it is even better!
 And...No, I'm not giving up the Cricut yet. Dotty still has a home.
 Thanks to my sons, I even got a new cartridge for her (Nate's ABCs) that I've been wishing for all year.
Make the Cut now has a plug-in for the Silhouette Cameo, which was the deciding factor for me to get the new machine. I will try and do some tutorials with it soon!


Make the Cut now has a plug-in for the Silhouette Cameo, which was the deciding factor for me to get the new machine. I will try and do some tutorials with it soon!
Subscribe to:
Posts (Atom)