Showing posts with label Tutorial. Show all posts

Thursday, October 11, 2012

Chandelier Make Over

I've seen so many chandeliers on Pinterest, made over to be cute, fun, repurposed (cupcake holders, anyone?) and just plain cool. I've been itching to try my hand at revamping one. I added it to my garage sale finds wish list. Finally, I stumbled across one. I splurged and spent the dollar they were asking. Didn't even try to chew the seller down. I know, I know, could have saved a quarter.
I took it all apart, removed all wiring and scrubbed the fixture with a toothbrush. I tried really hard to keep the pieces together in order...I was mostly successful...glad I had a before picture to help with the reassembly, though.

Somehow I lost all the photos of the paint job...I'm pretty sure I took some. Imagine if you can...
  • a wooden swing set, with the swings flipped over the top so they'd be out of the way
  • a dull bronze chandelier hanging from the "eye" of one of the swings with a bungee cord
  • a sheet that has seen other spray paint jobs spread neatly under the chandelier
  • a sheet that was spread neatly, rumpled by the slight breeze
  • a can of metal primer spray paint
  • a chandelier sprayed white with primer
  • another can of spray paint...with a pink cap
  • a chandelier sprayed pink, but definitely needing another coat
  • a more evenly covered paint job...boy getting the underside is tricky!
  • a chandelier left to dry
Next came the actual spendy part...adding the bling. Went to the local craft store, hauling my project. I spent quite a bit of time sitting on the floor in front of the beads trying to figure out how many I needed and how best to cover all the spots for the bobbles. There were 55 in all! I'm really glad that J's was having a sale, because I donated an arm and a leg for those sparklies! I got out my daughter's beading supplies and went to work.

I really wanted to use tea cups for the tea lite holders, but wasn't having much luck finding the perfect set of them. I finally decided to use tea lite cups. I dipped the rim in matching paint and hung them upside down on small bottles to dry. I glued them to the chandy with E6000.

 Now my project needs a new home. I've listed it on Craig's List, but kinda high priced because of the beads. We'll see if I can sell it. Sure was fun to put together though!

Sunday, May 6, 2012

Kissing Ball Topiaries

The following is a tutorial for a Pinterest inspired, kissing ball topiary. It is photo heavy to hopefully make it thorough.

A couple disclaimers to start off...
  • My finger nails were not polished, filed or pampered in anyway before taking pictures...please ignore them.
  • Although ,my desk was cleared off  at the beginning of the project,  most photos are in real time and the working mess is there for all to see.
  • I thoroughly torched my finger with hot glue and the bandage on my right ring finger makes typing a hunt and peck adventure...my backspace key is getting quite a workout!
  • My hot glue gun says to wear eye protection...nothing was mentioned about hands.
  • The inspiration for this project was pinned on Pinterest from these sites: Pepper Design Blog, LW Design, and Today's Fabulous Finds.


1.Cut zillions of 1 foot length strips of crepe paper streamers. (I bought mine in a two pack at the dollar store.) To speed up the process, I used a 24" ruler for a rotary cutter and wrapped the crepe paper around it 'til I finished the roll. I then cut the top and bottom. I folded the pieces in half (all at once) and cut those too, to get my 12" pieces. (Approximate measurements are okay for this project!)  I used  a few rolls.
See? Zillions of crepe paper strips :)
2. Layer two pieces of crepe paper together. With sewing machine tension loose and stitch length as long as possible, sew a straight line down the center-ish of the crepe paper.
3. When finished with one, just sew right off the edge and start the next one. No need to clip threads at this point. 
I try to do a chain of about 5-7 strips before I leave a thread tail and clip it. Here's the next pile.
4. Pull the bobbin thread to gather the paper. Leaving the strips connected for this step helps with keeping track of the thread. After they are gathered, go ahead and snip them apart.
  
5. Fold a strip in half, keeping the gathers the best you can. Lost threads can be fake gathered as it's folded.
6. Roll up flower.
7. Generously glob hot glue on the bottom of the flower.
8. Stick it to the Styrofoam ball. (The ball I used is 6" and was the most expensive part of the project.) Styrofoam can handle the hot glue much better than fingers!
Notice the top of the line stand for the ball.
9. Repeat...placing flowers near each other...some visible space can be covered as you fluff the flowers.
10. Before filling the last bit in, hot glue a candlestick (also from the dollar store) onto the bottom of the ball. And then fill in the rest around it.
11. Remember all those threads...They need to be trimmed now. (I used a colored ball so the white thread would show up.)
 And It's Finished!
Please let me know if you have any questions!

Friday, April 9, 2010

Have Your Cake and Diet Too!

Okay...I have always been enamored with Pop Up paper stuff.  Way back in second grade, in Miss Bender's class I can remember having little pop up carrot noses on my construction paper snowmen.  How elated I was to learn simple pop ups when I started stamping.  Fast forward 19 years...now I  see the awesome Sizzix die for a pop up cake...the whole cake not just a flat one that stands up.  Cool!  But, I don't like the $40 price tag...there's gotta be a way to make a similar cake on the Cricut.  After investigating a bit, I came up with my own version.  I still have some tweaking to do, but it does work.  The following is a tutorial of my version of the Pop Up Cake.  It's a bit long and photo intensive, but I think if you're struggling with puting one together, with the Sizzix or home made version, it should help.

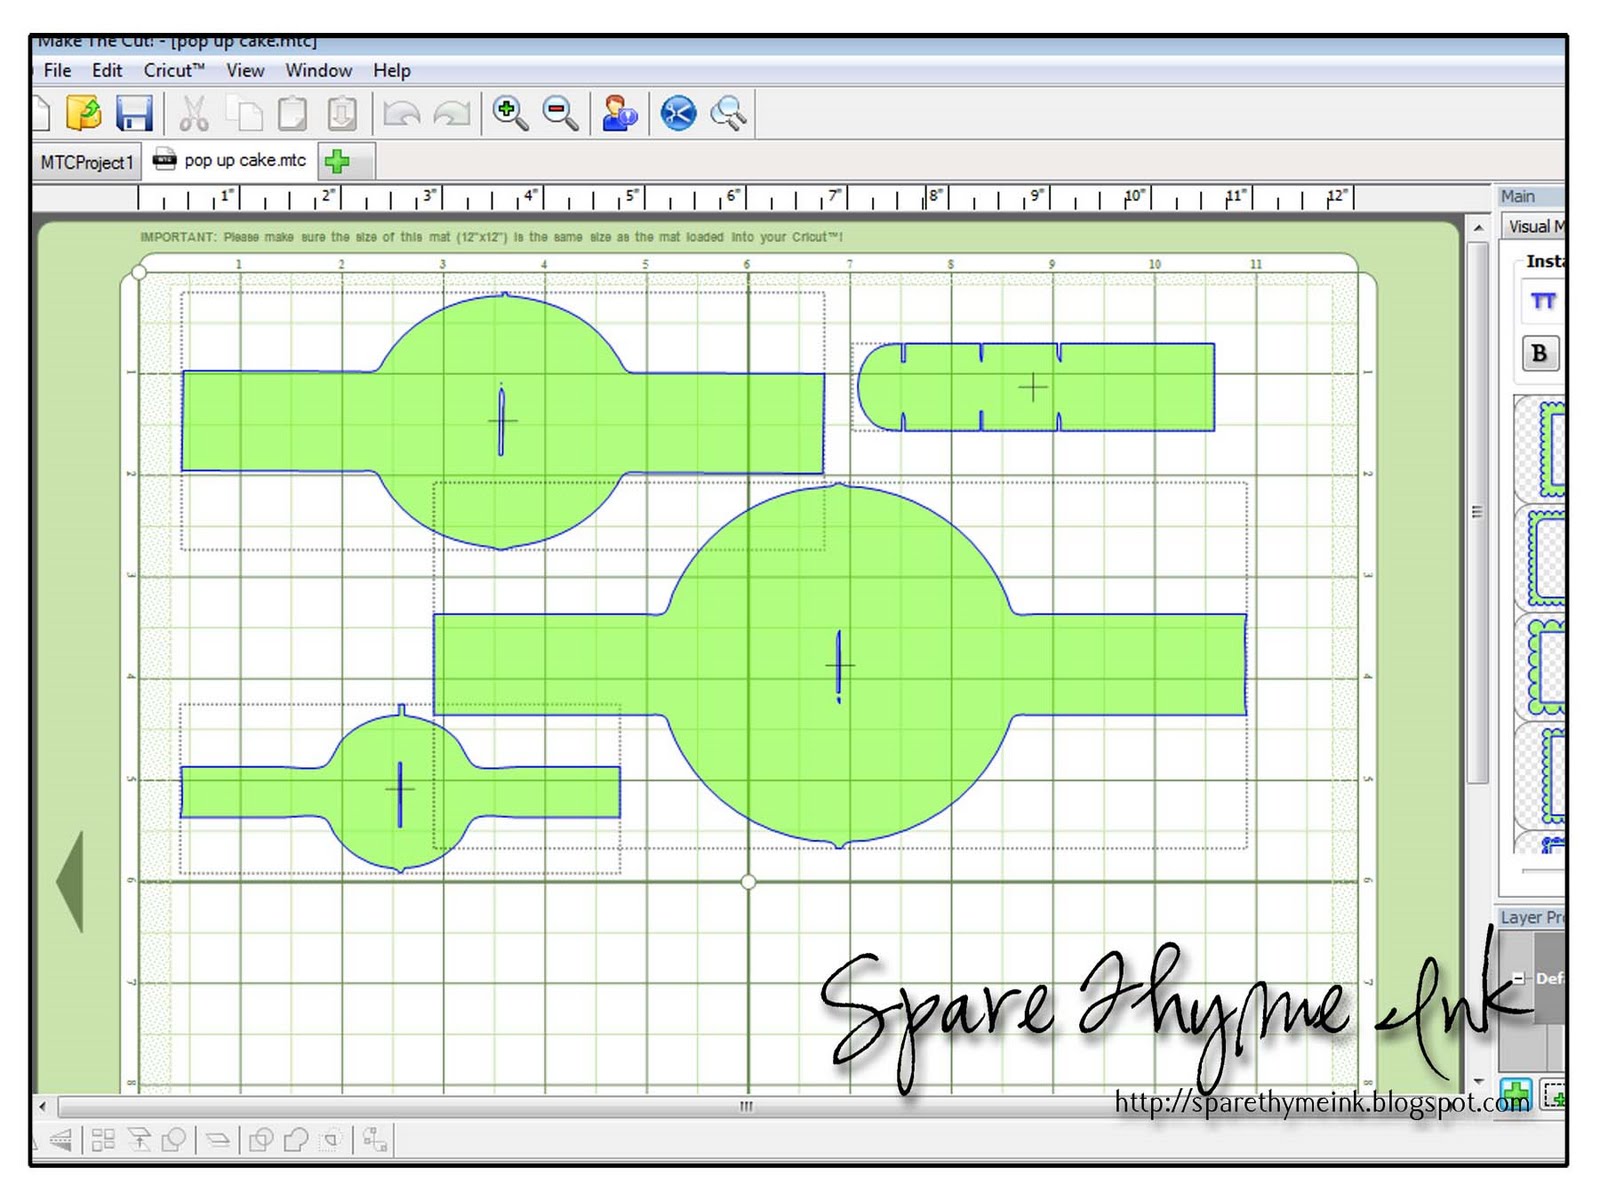
I used Photoshop Elements to create my image and then imported it into the Make the Cut Program.  I sized it  so that it would all fit onto an 8.5x11 piece of paper.

Remember, you can flip you mat around using the opposite corner for  your paper. :)
Cut the image out.

Next you will need to score the pieces.
A couple of tips...
1. The long center piece can be "eyeballed" for its score lines.
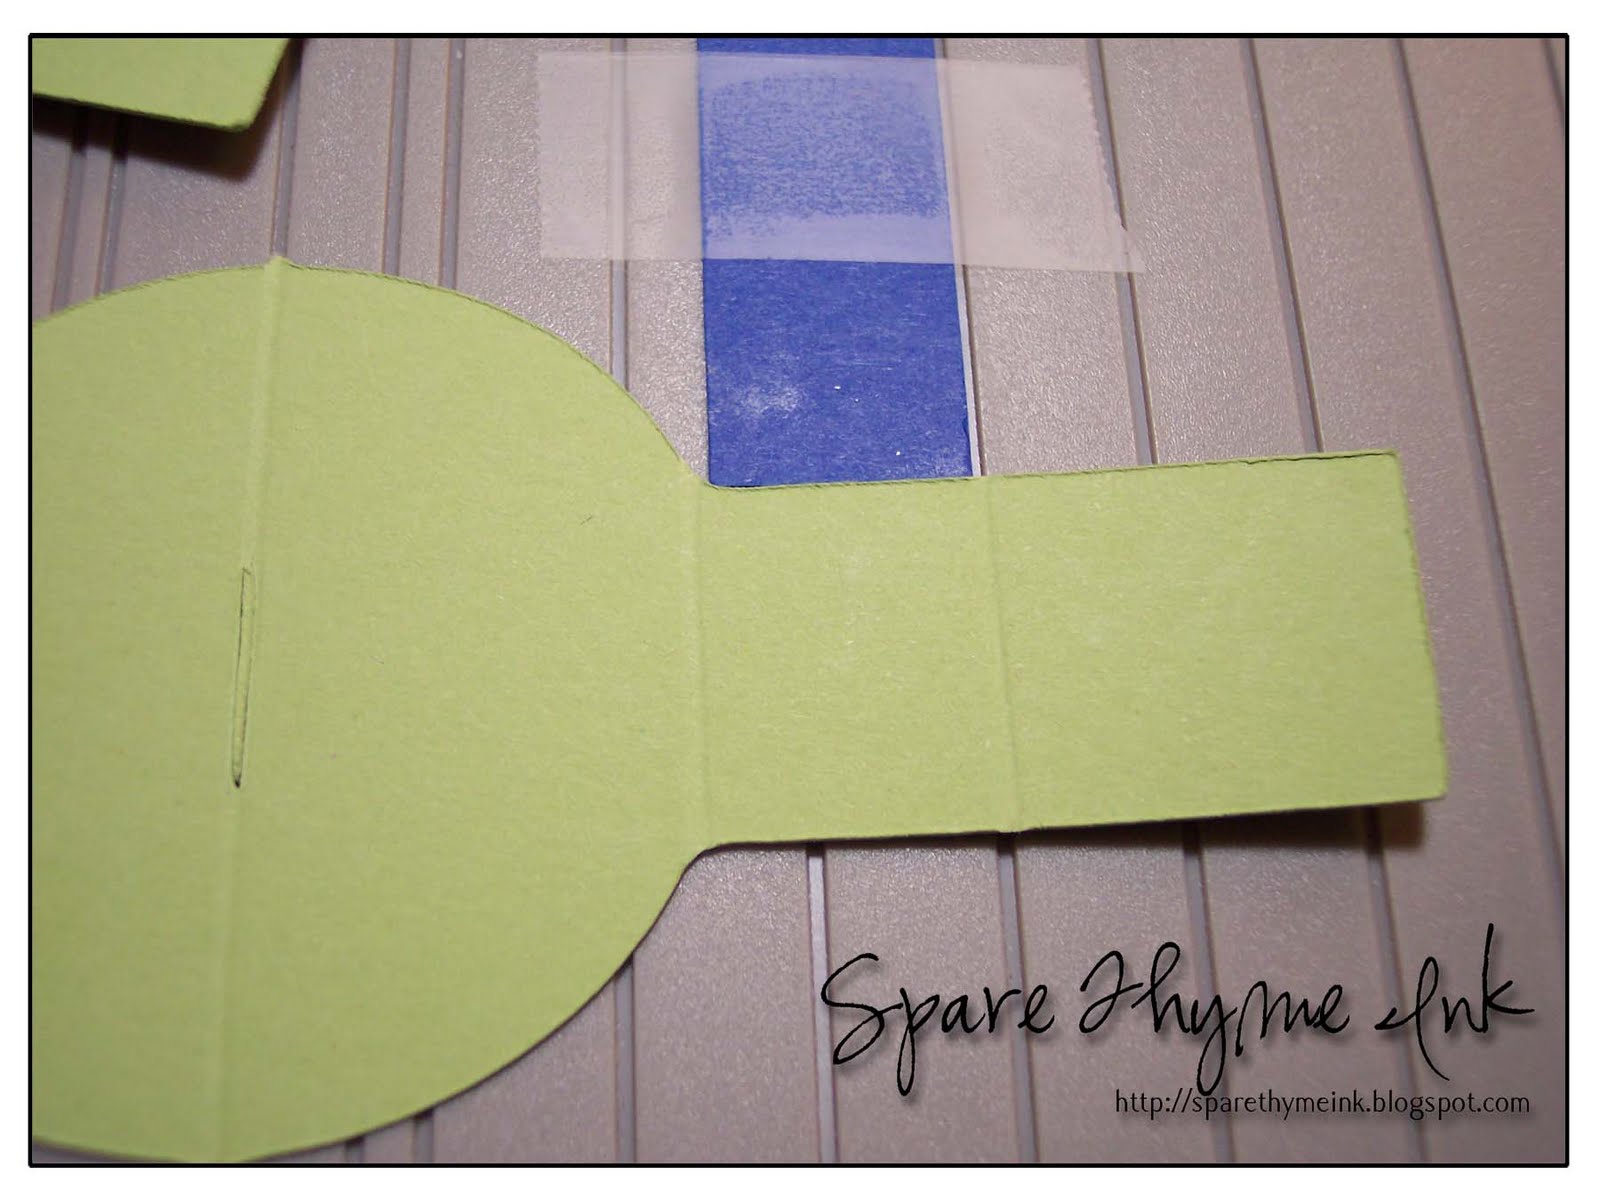
2. With my pattern, I put little tabs on the circle to line up with the score lines, It really helps get them straighter.  Don't forget to trim them off afterward though!
3. Putting a scrap of paper 3/4 inches wide away from the score line helps to line up the circle edge the correct distance.  (This may be different for other patterns, but it is the cake height that I decided on.)
Once the pieces are all scored and pre-folded add adhesive to the rectangles farthest from the circle.  (See picture above.)  ScorTape seems to work really well for this.  Whatever you use, make sure it's heavy duty, a lot of wear and tear happens on these parts.

Stick the center piece right next to the fold line.

Slide the largest layer down, folding in the sides.  Let it rest on the lowest tab and fold out the middle one to lock it in place.
Fold the cake layer in half and push to one side.
Remove the adhesive covers and then fold the opposite side over so that the card adheres to exposed sticky tape.
Open up the card and do the same steps for the opposite side.
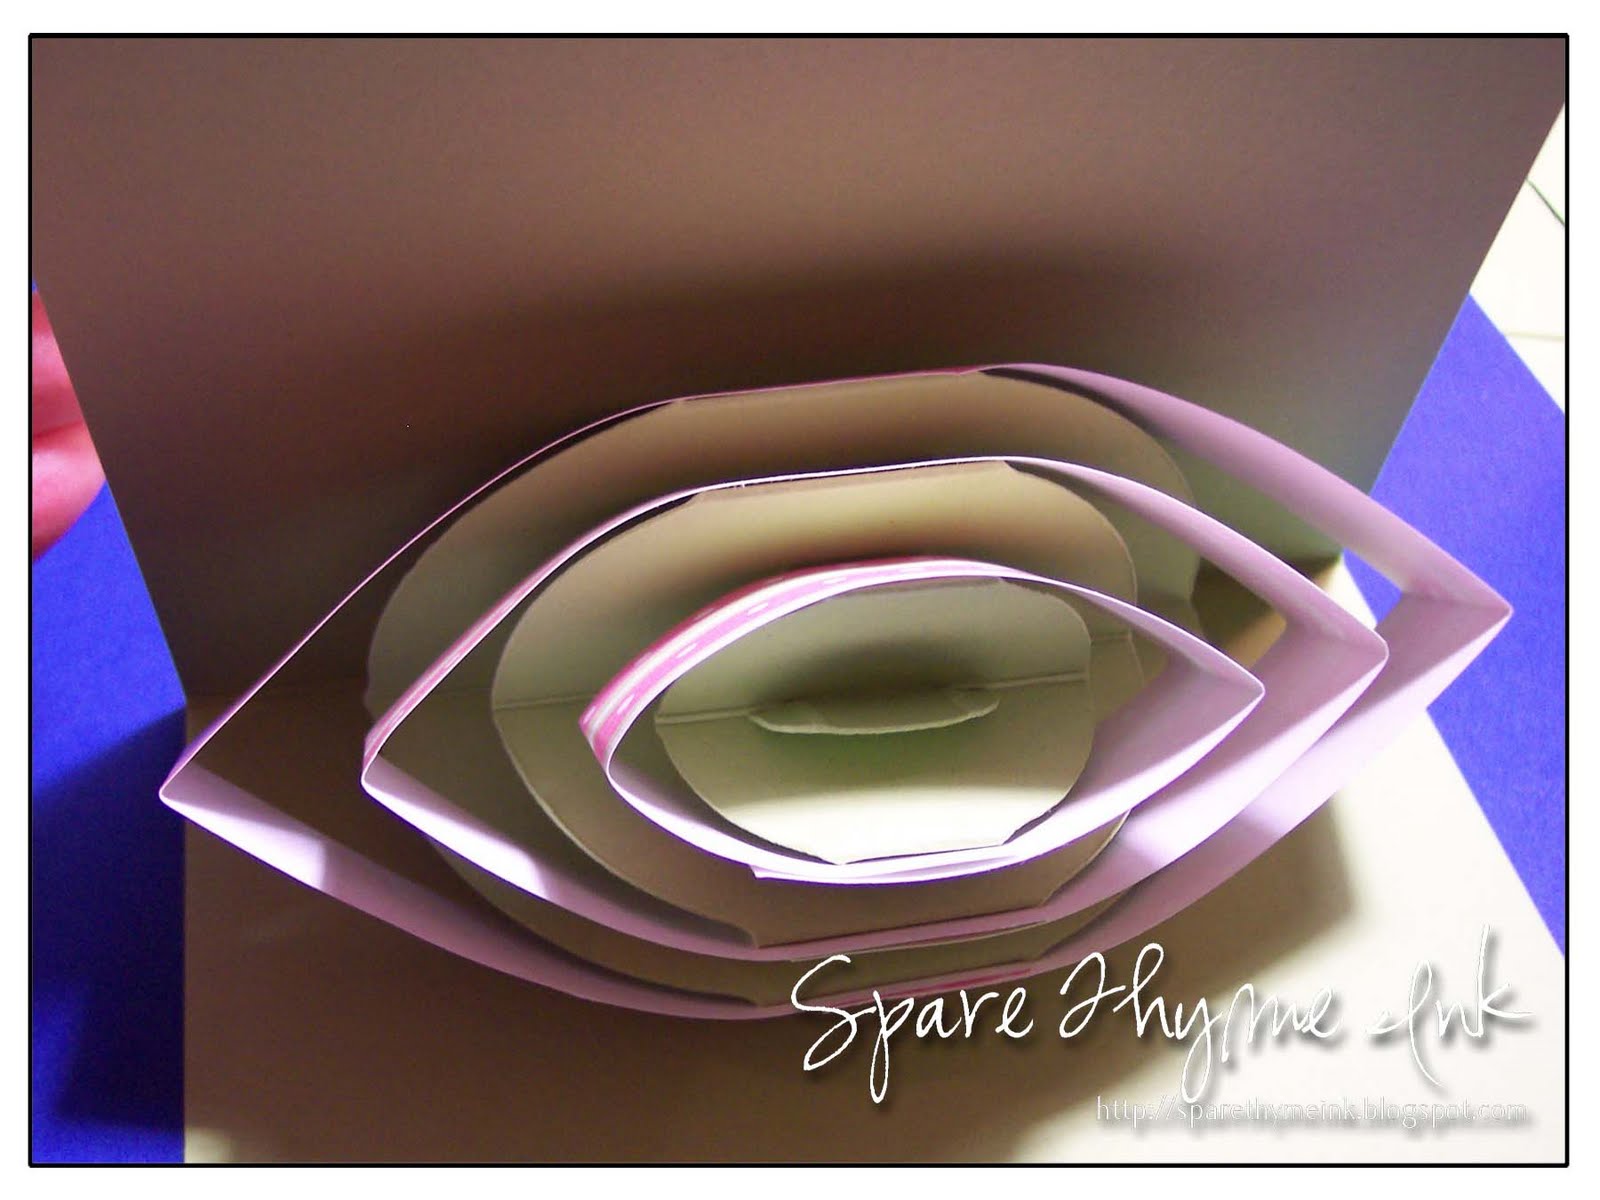
When you open the card it should stand with the top of the layer parallel to the flat card. (Notice I forgot to trim my tabs...I did eventually take care of it though.)

Repeat the steps with the next two layers.  They will adhere to the cake layer below them.


Next you will need to trim a 12 x 12 piece of paper into strips for around the edges.  Since my cake height was 3/4 inch I made strips that were just a smidge wider than that.  The bottom layer takes the whole 12 inches.  I trimmed the smaller layers after I had it wrapped around the cake.

Tip:  I chose to put my seems on the top of the card, so when you have it open it's opposite the recipient.
Once you have all your "frosting" on, you will need fold the card to put the creases in it.
Once that is done, you are free to decorate the cake.  A note of caution, it is pretty bulky, so consider that if you're thinking of popping it in the mail.  Also you don't want your candle sticking out the top, so don't make them too tall.  (Don't ask me how I know this. :) )

Here is a finished cake...different frosting though.  I also thought it needed a doily and added that for fun.

And the front...